5 Signs of a Failing Thermostat Housing (And What to Do Next)
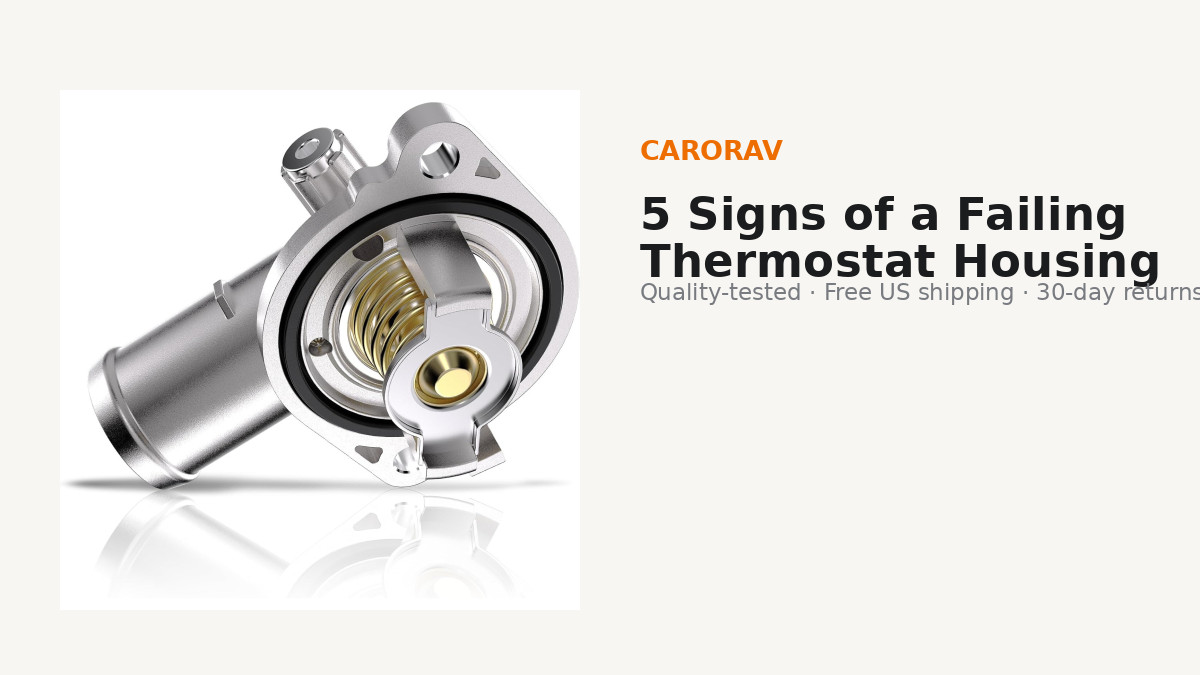
The thermostat housing is one of those parts most drivers never think about — until the temperature gauge starts climbing. On Chevy, Buick, Jeep, Dodge and BMW engines, the housing (the plastic or aluminium casing that holds the thermostat and connects the coolant hoses) is a common failure point, especially past 60,000 miles. Here are the five warning signs, what they mean, and how to fix it before you’re stranded on the roadside.
The 5 Warning Signs
1. Coolant leaks around the housing
The most obvious sign. Thermostat housings seal against the engine with a gasket and an O-ring; when the plastic degrades or the seal hardens with age, coolant weeps out. Look for dried green, orange or pink residue around the housing, dripping from the seam, or puddles under the front of the car after it’s been parked.
2. Engine overheating
A stuck-closed thermostat trapped inside a leaking housing means coolant stops circulating through the radiator. Watch for the temperature gauge climbing past normal, especially in stop-and-go traffic. If you see steam, pull over immediately — driving an overheating engine can warp the cylinder head and turn a $50 part into a $2,000 repair.
3. Fluctuating temperature readings
A stuck-open thermostat (or a housing leaking air into the system) makes the temperature gauge swing wildly — cold at highway speed, hot in traffic. This inconsistent cycling is often the first symptom owners notice before any visible leak appears.
4. Check engine light with coolant temperature codes
Modern engines monitor coolant temperature with sensors mounted in or near the housing. A failing housing can trigger codes like P0125 (insufficient coolant temperature) or P0128-adjacent errors. Don’t just clear the code — the underlying leak will bring the light right back.
5. Visible cracks or warping on the housing itself
On plastic housings (common on late-model Chevy and GM engines), heat cycling eventually cracks the casing — sometimes visibly. If you can see white coolant residue tracking from a seam or a hairline crack in the housing body, replacement is overdue.
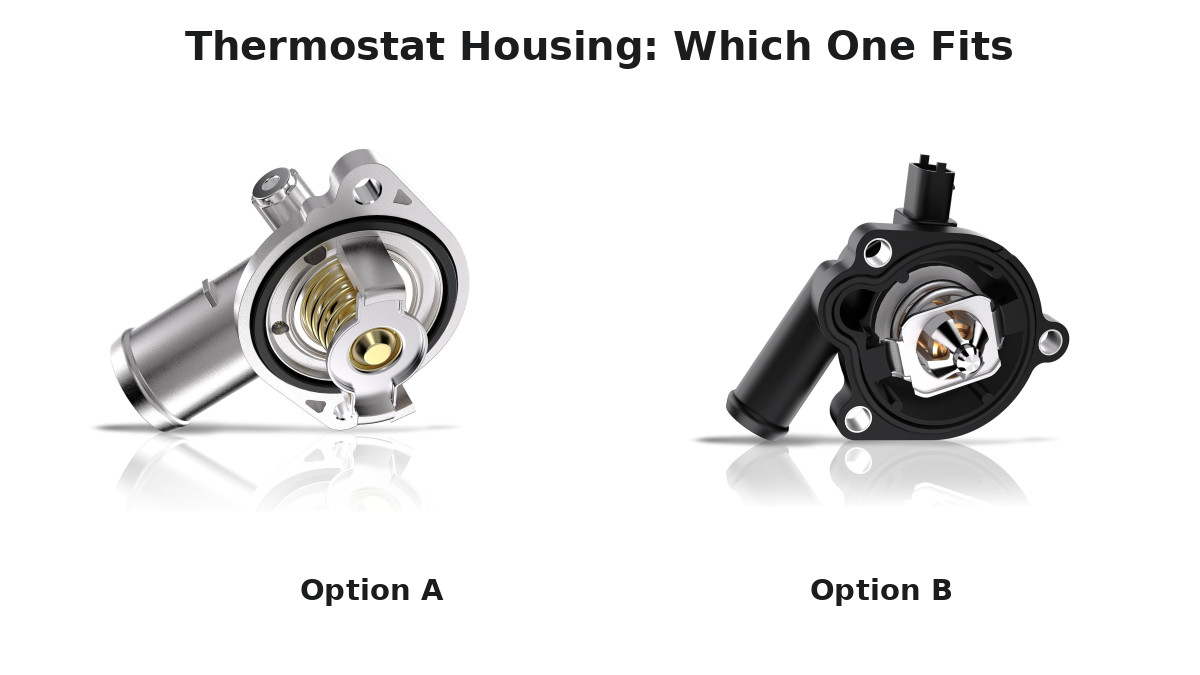
Carorav Thermostat Housing Fitment Guide
Every Carorav housing assembly lists its OE replacement numbers and exact applications — use this table to match your engine before ordering:
| Carorav Housing | Vehicle Application | Replaces OE Numbers |
|---|---|---|
| Aluminium Housing Assembly | Chrysler 200 2011-2017 | 902-3036, 9023036XD, 5184570AJ/AH/AG, 34773, 49559 |
| Thermostat Housing Assembly | Buick, Chevy | 902-808, 730-221, 55565336, 55579010, 55593034, 34709, 85993, 25200455, 131-180 |
| Thermostat Housing Assembly | Jeep, Dodge | 902-852, 823203, 5184651AF/AG/AH, 5184655AD, DG0714525 |
| Thermostat Housing with Seal (BMW) | BMW E46 3 Series, E60 5 Series, X3 E83 | 1531437040, 11537509227, 111530139877, 1430825, TM1397, Z63001 |
All six housings are complete assemblies — thermostat, gasket, seals and hardware included — so every seal is fresh at installation. Match your OE number against the table, or email us your VIN and we’ll confirm the fit for you.
How to Confirm It’s the Housing — Not Just the Thermostat
A failing thermostat and a failing housing share symptoms, so confirm which one you actually need before ordering. Three quick checks:
- Visual seam inspection — with the engine cool, look for dried coolant residue tracking along the housing seam or around the bolt holes. Residue at the seam points to the housing gasket; residue only at the hose clamps points to loose clamps instead.
- Coolant level monitoring — mark the overflow tank level when cold. If the level drops over several days with no visible drips, the housing face has warped and coolant is escaping as vapor at speed.
- Thermostat behaviour test — if the engine overheats but the upper radiator hose stays cold, the thermostat itself is stuck closed and the housing is fine. If the hose gets hot and the level keeps dropping, order the housing.
What the Thermostat Housing Actually Does
Understanding the part makes the symptoms make sense. The thermostat sits inside the housing at the engine’s coolant outlet. When the engine is cold, the thermostat valve stays closed, blocking flow to the radiator so the engine warms up fast. At around 82-95°C (depending on the thermostat rating), the wax pellet inside the valve expands and opens the flow, sending coolant to the radiator for cooling.
The housing’s job is to hold that valve in perfect alignment with the coolant passages, seal the system against leaks and pressure, and carry the sensors that feed your dashboard gauge. When the housing warps, cracks or leaks, the whole temperature-control loop breaks down — which is why the symptoms show up all over the dashboard, not just as a puddle.
What to Do Next
Replacing a thermostat housing is a straightforward job on most engines: drain some coolant, unbolt the old housing, swap the thermostat and gasket into the new housing, refill and bleed the system. The key is buying a complete housing assembly with the gasket included — that way every seal is new at the same time.
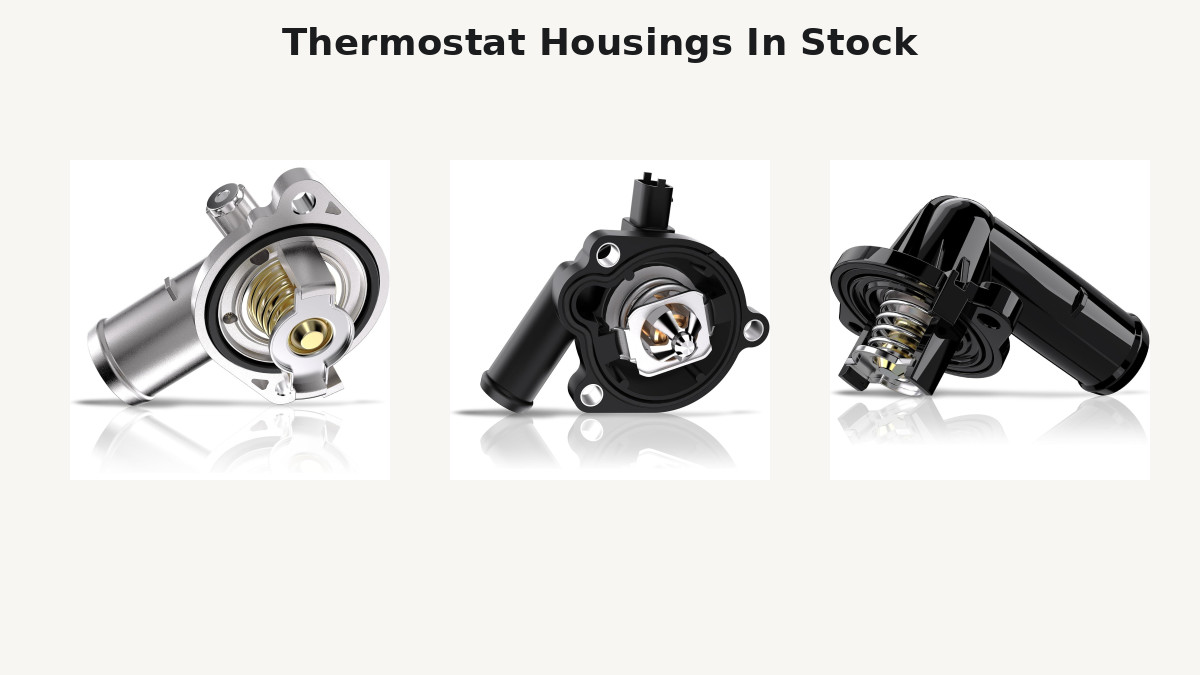
Our Thermostat Housings collection covers the most common applications: the upgraded aluminium housing for 11-17 Chrysler and Buick/Chevy engines that resists heat cracking, direct-fit assemblies for Buick and Chevy with gaskets included, and complete kits for Jeep, Dodge and BMW with seals included. Every Carorav housing is quality-tested before shipping and backed by free US shipping and a 30-day return window.
Thermostat Housing Replacement Cost Breakdown
With the housing assembly and gasket in one box, most owners complete this as a DIY job. Typical parts pricing: aluminium assemblies run $30-$80 depending on the application, while premium BMW kits sit at the higher end. A shop will typically quote $150-$400 total including labor — the DIY route keeps the savings for the tools you’ll reuse forever.
Timing matters too: replacing the housing at the first sign of seepage costs one gasket and one hour. Waiting until the housing cracks outright risks coolant loss at speed and potential head damage — the repair math is not close.
How to Extend the Life of Your New Housing
A fresh housing assembly should last the rest of the vehicle’s life — if the cooling system around it stays healthy. Three habits prevent the heat cycling and pressure spikes that crack housings in the first place:
- Use the correct coolant, mixed correctly — GM and Chrysler engines call for Dexcool-spec OAT coolant; BMW calls for its own blue NT4 formula. Mixing chemistries accelerates gasket degradation and sludge buildup, which insulates the housing and drives temperatures up.
- Replace the pressure cap with the housing — a worn cap holds less pressure, raising the boiling point margin and stressing the housing seams every heat cycle. A new cap costs under $15.
- Bleed the system completely after every service — trapped air pockets create localized hot spots exactly where the plastic is thinnest. Follow the bleed procedure for your specific engine until only coolant exits the bleeder valve.
Known Housing Issues by Platform
Certain engine families are famous for housing failures, and knowing your platform’s weak point speeds up the diagnosis:
- Chrysler 200 2.4L (2011-2017) — the original two-piece housing design weeps at the thermostat joint as the plastic warps; the upgraded aluminium assembly replaces the entire casing and ends the cycle — this is the platform where a plastic housing is almost guaranteed to need replacement within the first 100k miles.
- Chevy Cruze / Sonic / Trax 1.8L (2011-2020) — these engines run hot by design, and the housing gasket takes the brunt. Expect seepage around 60-80k miles on stock parts — and check the housing seams whenever you service the cooling system, because the Cruze packaging makes access tight.
- BMW E46 / E60 six-cylinders — the composite housings on these engines are a well-known wear item alongside the water pump; most owners replace both together around 90-120k miles.
- Jeep / Dodge 3.6L Pentastar — the three-piece housing setup cracks at the thermostat neck; later revisions consolidate the design.
Tools and Torque Specs for the DIY Swap
Plan for a socket set with extensions, a drain pan, fresh coolant, and a torque wrench for the housing bolts. Most thermostat housing bolts torque to 89-106 in-lbs (10-12 Nm) — snug, not brute force. Overtightening plastic housings cracks the flange and recreates the exact leak you’re fixing. Hand-start every bolt, then torque in a criss-cross pattern to keep the gasket seated evenly.
Every Carorav Housing, Up Close
Here is what separates each assembly in the lineup, so you can match the part to your priorities:
- Aluminium Housing for Chrysler 200 (2011-2017) — Replaces 902-3036, 5184570AJ and related numbers. The upgraded aluminium casting runs cooler than the stock plastic unit and shrugs off the heat cycling that cracks OEM housings on this engine. Ships with gasket and mounting hardware.
- Housing Assembly for Buick and Chevy — Replaces 902-808, 55565336, 25200455 and related numbers. A direct-fit unit for GM four-cylinder applications, maintaining factory water flow with a reinforced thermostat seat.
- Housing Assembly for Jeep and Dodge — Replaces 902-852, 5184651AF and related numbers. Built for Pentastar V6 applications with all ports and sensors in the factory positions for a bolt-on swap.
- Housing with Seal for BMW E46/E60/X3 — Replaces 1531437040, 11537509227 and related numbers. Includes the seal, rated for the higher operating temperatures of BMW six-cylinder engines, and covers 3 Series, 5 Series and X3 applications from 1999-2006.
- Housing for Chevy Cruze, Sonic and Trax (2011-2020) — Replaces the stock 1.6L/1.8L housing. An upgraded unit for engines that run hot by design.
- 12622316 Aluminium Housing — Replaces 12622316, 440180, 902847. The aluminium upgrade for GM four-cylinder engines that cracks stock plastic housings.
After Installation: Bleeding Air from the System
Trapped air is the number one cause of post-replacement overheating, so bleed the system properly before your first drive:
- Step 1 — Fill the radiator and overflow tank to the cold marks with the correct coolant mix.
- Step 2 — Leave the radiator cap off, run the engine with the heater on full heat until the thermostat opens (the upper hose will get hot).
- Step 3 — Top up as air bubbles escape, then install the cap.
- Step 4 — Recheck the level after the engine cools and again the next morning. Top up once more and the system is fully bled.
Aluminium vs Plastic Housings: The Material Breakdown
| Property | Aluminium Housing | Plastic Housing |
|---|---|---|
| Heat cycling resistance | Excellent — no warping | Cracks after repeated cycles |
| Seal reliability | Machined flat face | Molded seam can distort |
| Lifespan | Often the life of the vehicle | 60-100k miles typical |
| Weight | Slightly heavier | Lighter |
| Price | Comparable | Comparable |
For any vehicle you plan to keep, the aluminium assembly is the better long-term choice — and it is what we stock for every application where the engine accepts it.
Five Installation Mistakes to Avoid
- Skipping the gasket — reusing the old gasket because “it looks fine” is the top cause of comeback leaks. Always use the new gasket in the box.
- Overtightening the bolts — plastic flanges crack at torque well below what feels right by hand. Use a torque wrench and stop at spec.
- Forgetting to bleed — trapped air overheats the engine on the first drive and gets misdiagnosed as a defective part.
- Mixing coolant chemistries — topping up with the wrong formula turns the coolant acidic and attacks the new gasket within months.
- Ignoring the pressure cap — the system is only as strong as its weakest seal, and an old cap undermines the brand-new housing.
Frequently Asked Questions
Can I drive with a leaking thermostat housing?
Short trips to the parts store, maybe. Longer drives risk full coolant loss and severe overheating. Top up the coolant, watch the gauge, and replace the housing as soon as possible.
Safety note: an engine that overheats unexpectedly is a documented fire and breakdown risk. Before a long trip, it’s worth checking NHTSA’s recall database for any open cooling-system recalls on your vehicle — recalls are repaired free of charge at dealerships.
Plastic or aluminium housing — which should I buy?
If your engine came with a plastic housing, the failure mode is cracking. Upgrading to an aluminium housing eliminates that failure mode entirely — it’s our recommended choice for any vehicle you plan to keep.
How long does replacement take?
Most housing swaps run 1-2 hours with basic hand tools: drain partially, swap the housing and gasket, refill, and bleed air from the system.
What torque should the housing bolts be tightened to?
Most thermostat housing bolts torque to 89-106 in-lbs (10-12 Nm) — snug with a torque wrench, never brute force. Overtightening plastic flanges cracks them and recreates the leak.
Can I just replace the thermostat and keep the old housing?
You can, if the housing body and gasket face are genuinely undamaged. But if the housing shows any seepage residue or warping, the new thermostat will inherit the same leak path — replacing both together saves a second teardown.
Are aftermarket housings as good as the dealer part?
A quality OE-grade aftermarket assembly matches the dealer part in fit and function — and upgrades like our aluminium castings exceed the stock plastic in durability. The dealer part’s main advantage is the box it comes in, not the part.
Ready to fix that warning light for good? Browse the full Thermostat Housings collection — every assembly ships pre-tested with free US shipping and a 30-day return window. For more cooling-system guides and parts for your specific engine, visit the full Carorav catalog.
Leave a comment